At the beginning of this project, I gathered information that is necessary to design a 3 Color functional label, CMYK + F promotional label and Package Design that aligned with my market segment to create my Branding Concept. My market segment is drinks, and after thoroughly researching, I decided to go forward with marketing Boba Tea.

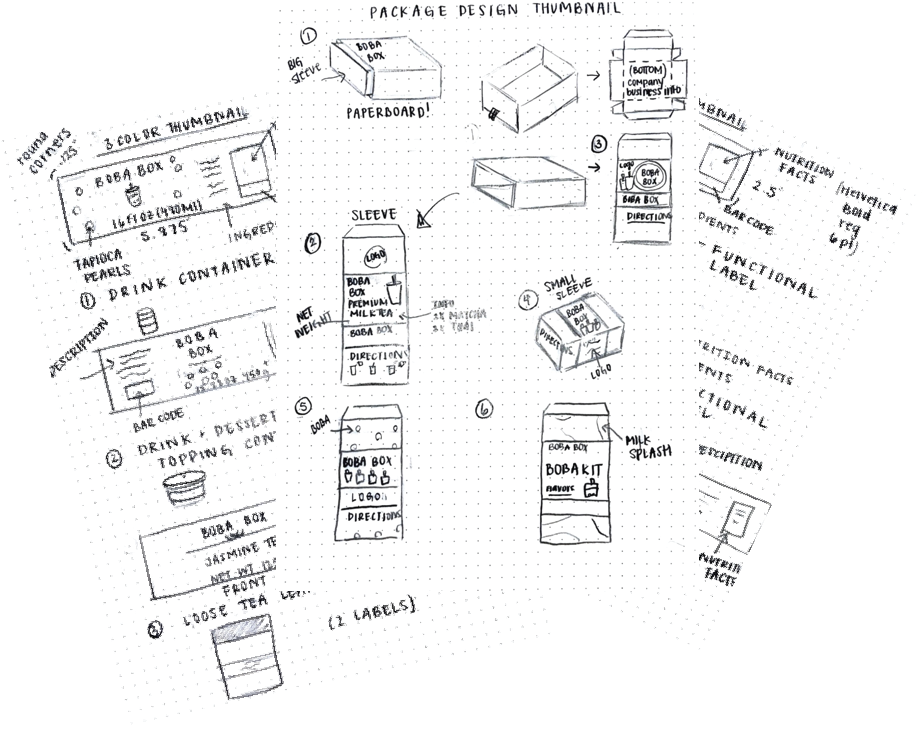
Next, I manifested my ideas and sketched out thumbnails. After, I shared my ideas with my group members in order to get feedback on my design. I was able to figure out improvements from their feedback as I had trouble deciding which artwork to choose. From this point on, my group communicated with each other and identified our dielines since all of our artwork would be printed together on the same file.
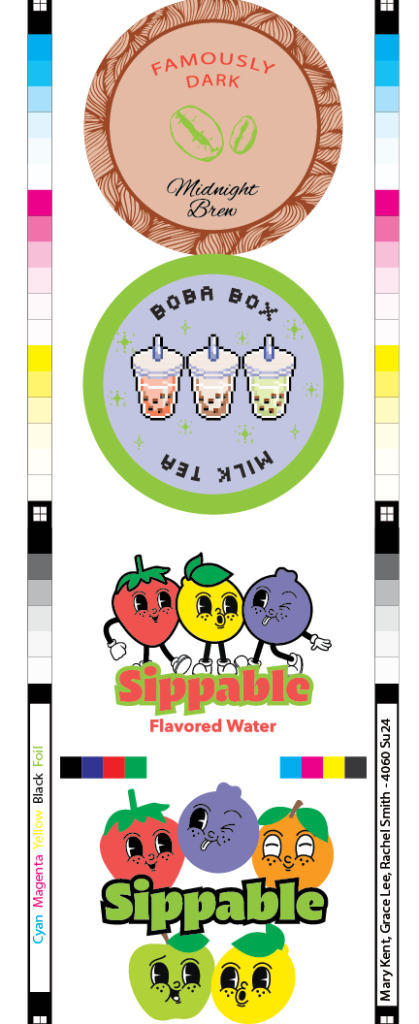
After peer review, I began laying my designs out in Adobe Illustrator. For my labels, I designed the artwork with registration, diecuts, bleeds and the color call out. I carefully measured the diecuts and registrations in order to print colors on top of one another. I printed out a hard proof and submitted it to my instructor for approval. (The green indicates the Foil layer.)
Once approved, the proofs were screened and trapped on ArtPro+. Below are the angles utilized:
Process Color Angles for Flexo
Yellow – 82.5
Magenta – 67.5
Black – 37.5
Cyan – 7.5
Angles for Spot Color Runs
Black – 37.5
Brown – 67.5 or 7.5
Blue – 82.5
Flexography
Flexography, or Flexo, is a method of direct rotary printing using flexible raised image printing plates and quick drying fluid inks.
Flexo plates are soft and flexible, which makes the process versatile such as rubber, laser ablation and photopolymer. For my project, I utilized the photopolymer plates for our production.
The image is formed by hardening of monomers through the negative by UV light, removal of unexposed monomers through solvent, aqueous or mechanical process and durometer (hardness) and makeup dictate printing characteristics.
I printed my 3 Color functional label on the Comco, and CMYK + Foil promotional Label on the Nilpeter flexo press. Color is the most dramatic means of attracting attention and enhancing our design. We need to consider whether the job is to be printed with solid inks or process colors.
Spot colors: Individually blended printing inks. Using a “swatch book,” designers select numbered color that the printer will match.
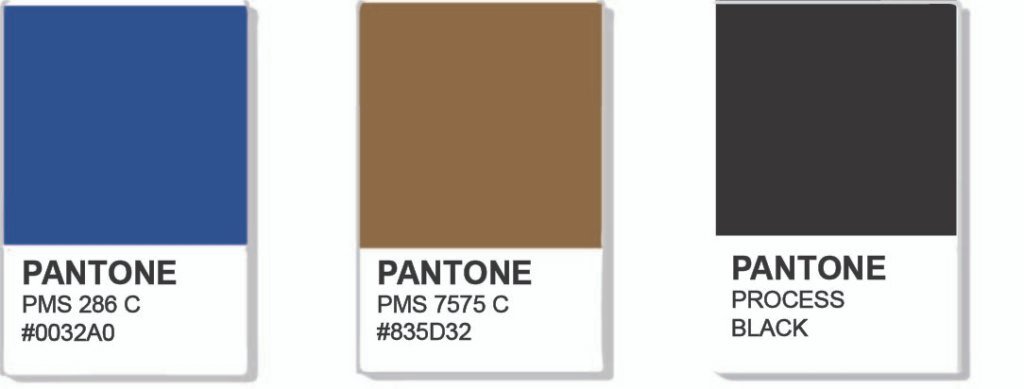
The most popular color-matching system is the Pantone Matching system (PMS). The colors assigned to me for my functional label are Blue, Brown and Black.
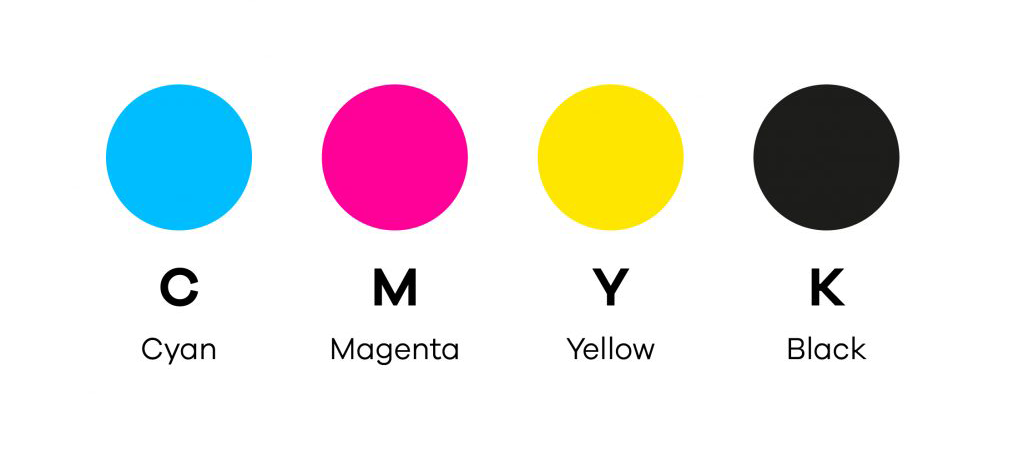
Process Colors are the four specific colors used by the printing industry to reproduce full-color images. The process colors are Cyan (C), Magenta (M), Yellow (Y), and Black (K). By combining these four colors, the printer is able to recreate the illusion of the original full-color image.
In order to start the process, I needed 3 plates for my spots colors, and 5 plates for my process colors + foil.
Photopolymer Plate Making
First we launched our files to the server and placed them in the merger folder. We did this by opening RIP_Output and dragged/dropped our files into the live area to save time and plate material. For the CMYK + F, the design was separated into 4 colors + Foil and 3 colors for spot colors. We managed to squeeze all of our artwork onto the screen. The plate size used was the DFR-067 mil photopolymer and it is important to note that the thickness of the plate influences the floor. The plates are stored in a cardboard box because they can be affected and damaged if left out in the light.
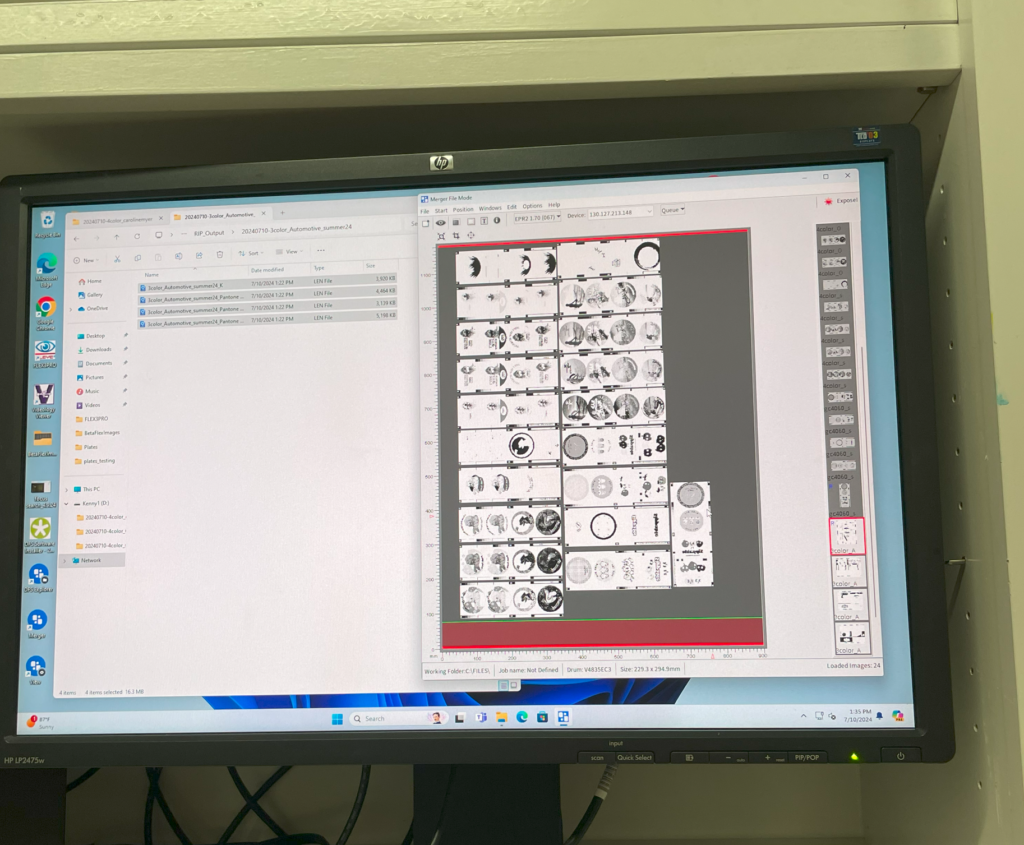
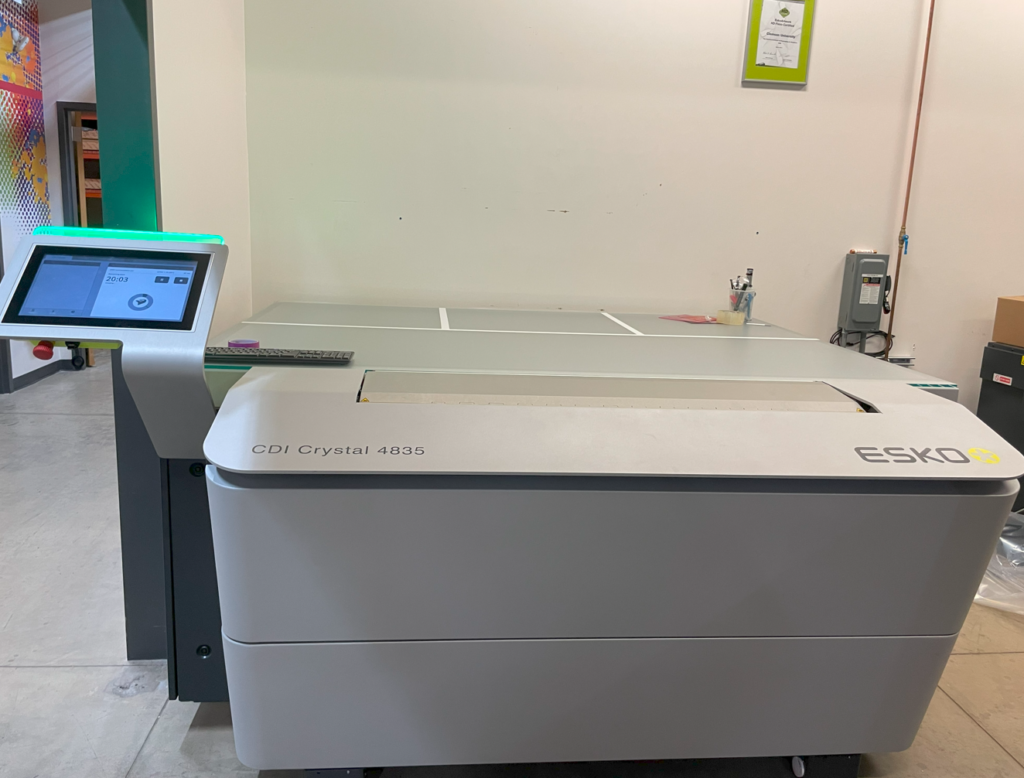
Imaging: The first step in photopolymer making is to image the design. We did this using the CDI Crystal 4835 Imaging Unit. The plate was loaded inside front facing up, then lined the side of the plate to the 30 mil mark. Then we took a wrench to open the bottom clamp to insert the exposed plate. The vacuum was on so that the plate would adhere better to the cylinder. The cylinder needed to be slowly rotated clamp the bottom part at the end and ensured there were no air bubbles and that it was straight. Once the cover was closed, the imaging process was ready to start ad took 25 mins.
After imaging, we needed to expose the front and back of plate. We placed it into the MacDermid Evo which consists of an exposure, washout a drying unit.
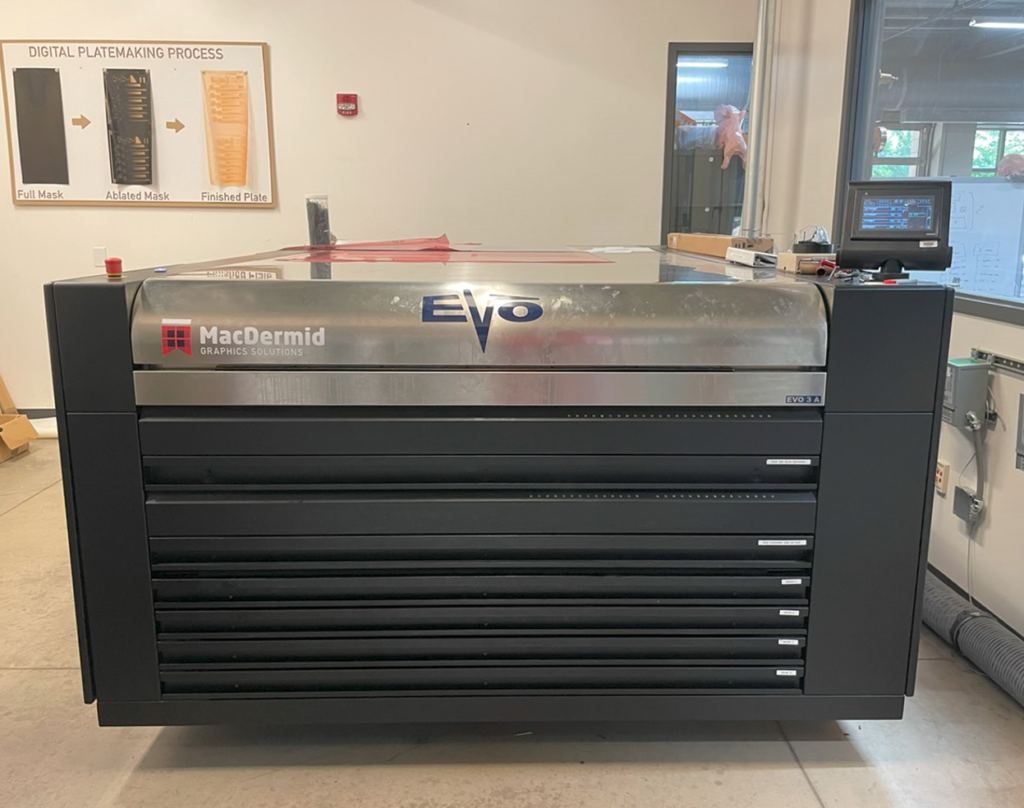
Front and Back Exposure: First we, the face was exposed. The function exposure is to emit light to help establish plate relief and sensitivity. The back is where the floor is made and everything was calibrated to get a specific amount of relief. The exhaust was on and the top corners of the sheet were carefully held since the photopolymer is photosensitive. The face was exposed for 8 mins then flipped face side down and to expose the back for 35 seconds. Next it was processed to remove unexposed photopolymer for 5.5 mins.
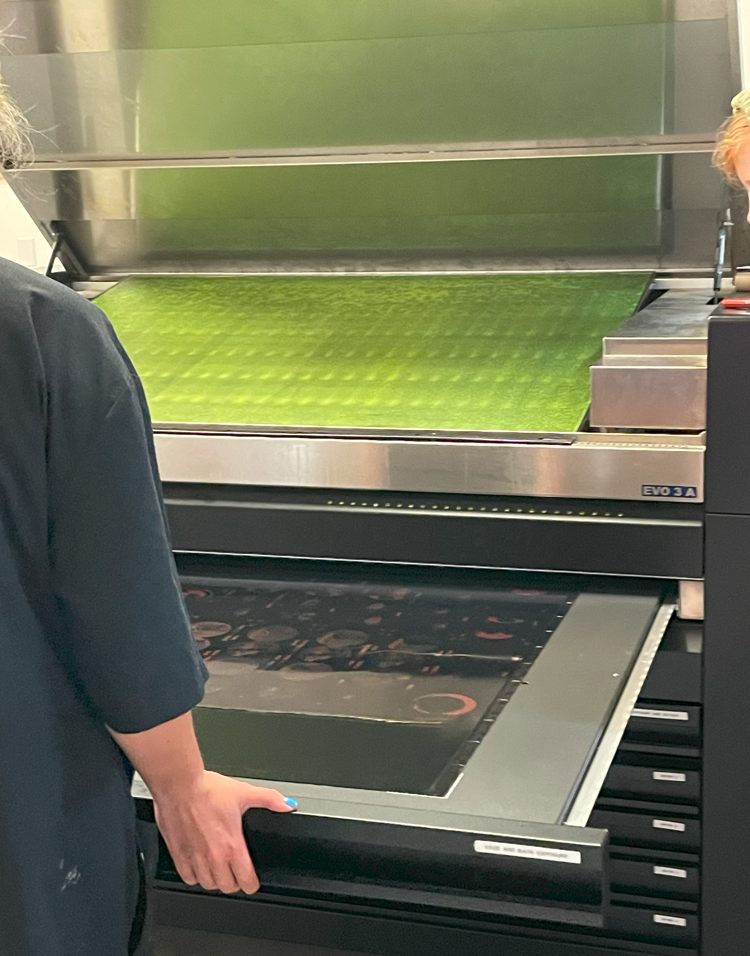
Processing: There is two main methods for processing: water washout using solvents, and thermal processing using heat. We used solvent which is one of the most common plate making types. The plate absorbs some of the solvent and swell to about .07mm, and the brushes and solvents that harden photopolymer wash it away. It will removed unused photopolymer so that anything not part of the image will be taken off to establish relief depth. After the plates are process, it is moved to the dryer and dried for 90 mins. Drying is necessary to evaporate all absorbed solvents. The drying time increases as the size and thickness of the plate increases.
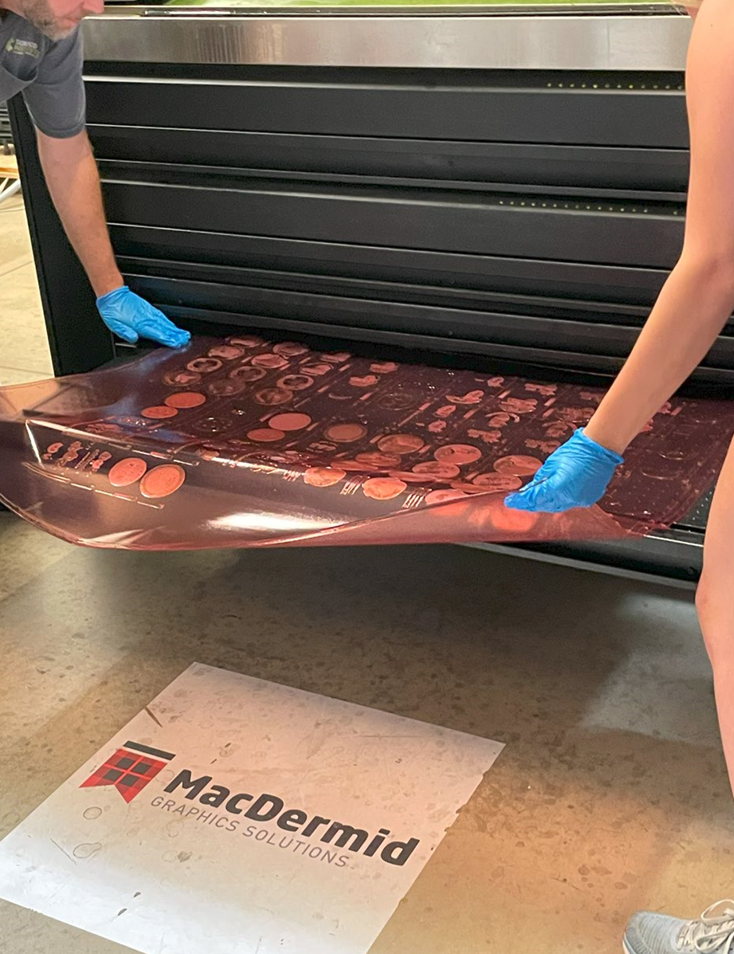
Post Exposure: Any photopolymer that didn’t get exposed after will get another set of UV light and UV-C to completely cure it. This step protects the plate from being scratched to make it print ready. It is really sticky during this point. Last, it will be dried again.
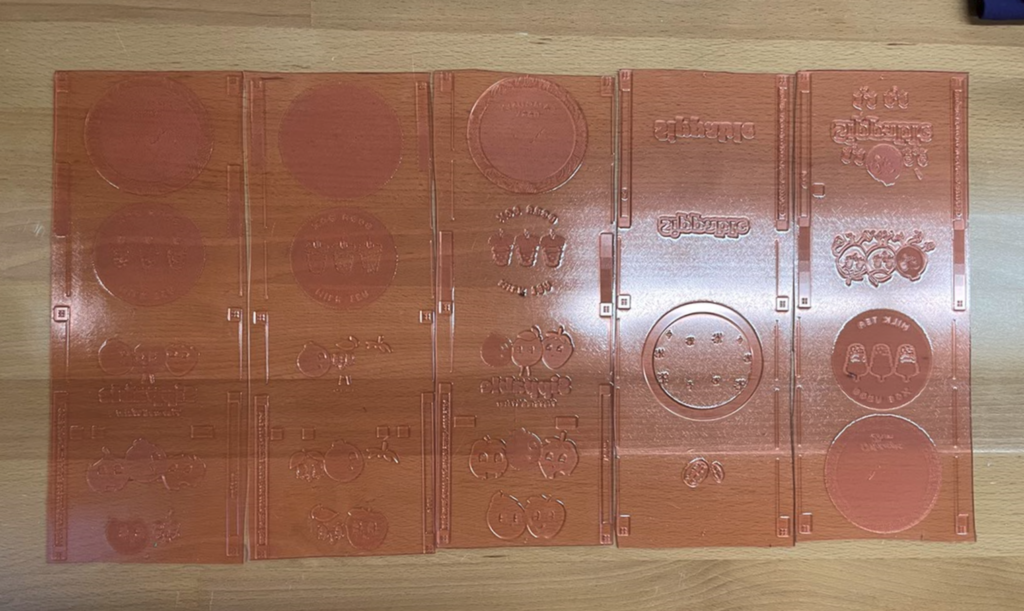
Pictured above: Trimmed plates for CMYK + F
Plate Mounting
The plate cylinder is mounted on to a mounting system, and we had to place the plates onto the sticky back of the plate cylinder. The Nilpeter and Comco flexo press both have different plate mounting systems. They both benefit plate mounting for compensation, tighter registration and efficiency in speed of production. This will ensure few errors and secure the plate to simplify the operation.
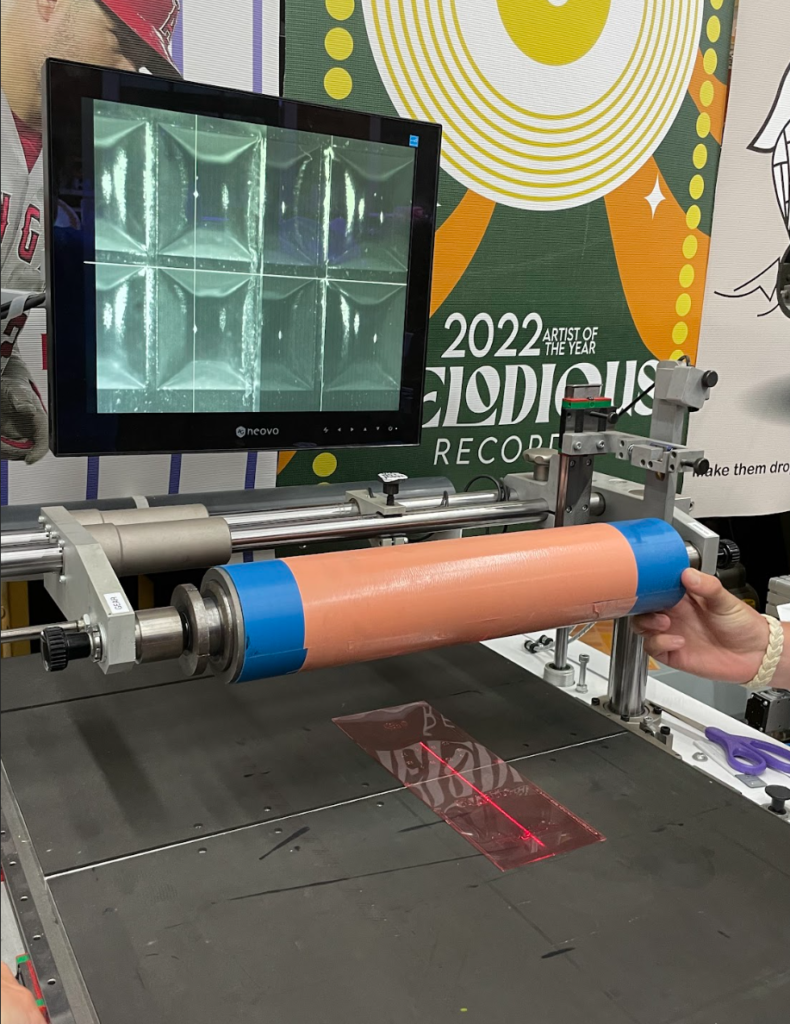
The plate mounting system has microscopic cameras so that there will be less human error when aligning are plates in registration. Each plate was aligned to the registration marks and cross hairs on the computer screen. After plate mounting, it is time for production!