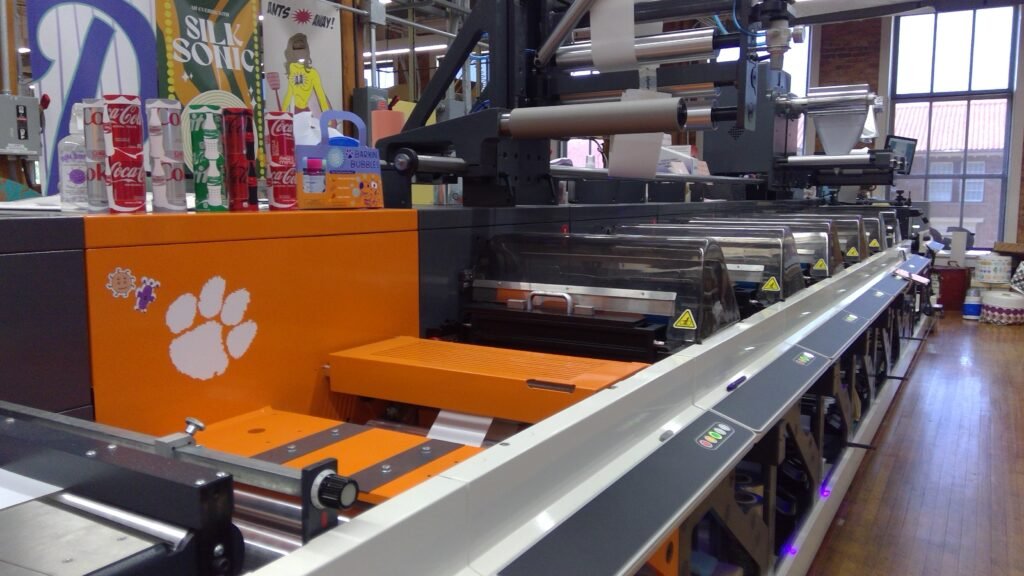
Objective: To design, perform prepress functions, perform make-ready, and production of a 4 color promotional label design with silver foil.
Purpose: To identify areas of concern or difficulty in design based on production equipment available, art limitations, and reflection of production of designed artwork and cover the topics below in a “report” for others to read.
Materials:
- Nilpeter
- Mactac Substrate
- LED/UV Flexo Ink
- Silver Foil
- Dieline: 2.875 circle .125 margin
- Anilox rolls for each CMYK + F
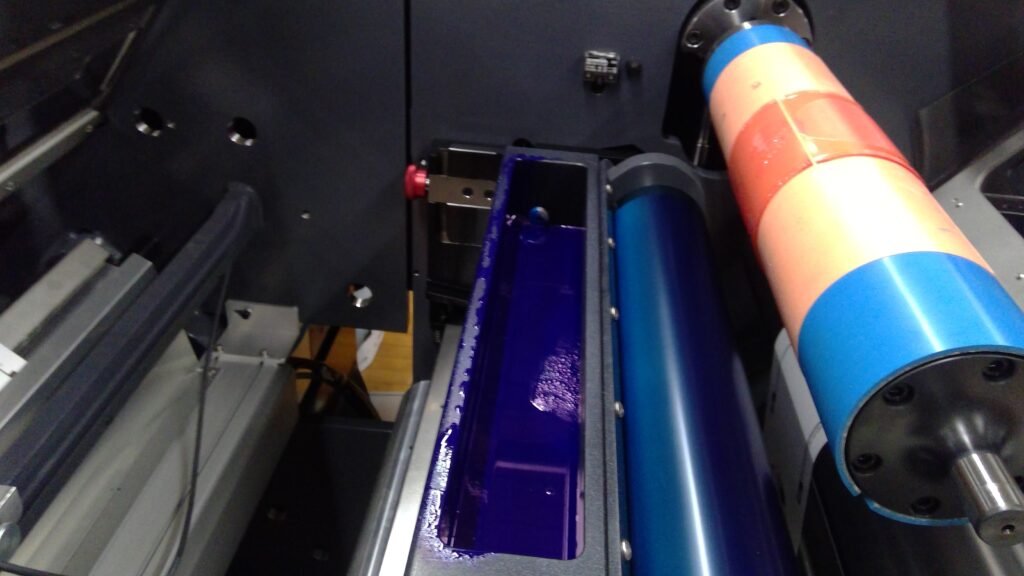
First we set up each station for each color. The plate cylinder needs to be mounted in order: Black, Cyan, Magenta, Yellow and Foil from left to right.

For each color, we need to turn on the air chamber and insert the plate cylinder on to the Nilpeter. Once the plate cylinder is inserted, the plastic cover needs to be closed.
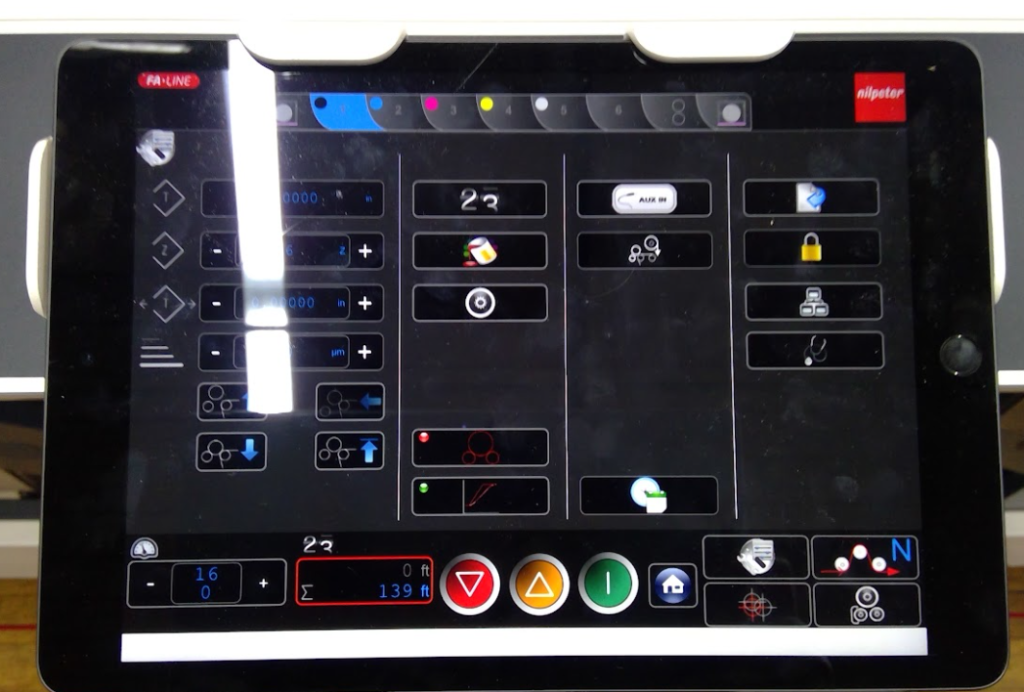
Once each color is ready, there is a tablet on the side of the Nilpeter that controls both registration and the impression of the plates.

First, we turned on the function to control the ink film thickness to print on the substrate. This is important as ink film thickness increases, the less detail it will hold, vice versa. Thus, we need to carefully control the amount of ink being transferred and refrain from over impressing.
However, compared to the 3 Color Process, our main focus is registering our colors. This is priority because we have to register 5 different images, 4 from CMYK and 1 from the foil. Previously when we plate mounted, it was crucial to achieve a tightly registered plate because we will be layering the colors on top of one another. If the colors are misaligned, it will be easily noticeable as each color is very distinguishable from one another.

Mr. Cox did our press run with us, so he had us print on the substrate then he made us observe each color and ponder how we need to fix this by moving the registration. This was done by pressing and up and down arrow key on the tablet which moved in very tiny increments. It was more efficient for us to play around and estimate how much we should move the registration by inputting a number to increase the increments. When we registered, we tried to observe part of the designs that was easy to register like the circle foil layer outline for my design.

After each color was in registration, Mr. Cox helped us load the foil substrate onto the press. It was important to not put too much tension so that the foil didn’t stretch too tight. Inserting the foil substrate reminded me of changing a paper towel dispenser because the concept was a bit similar. You had to gently guide and feed the substrate between the rolls to make the foil substrate came out. After loading the foil substrate, Mr. Cox adjusted the speed so that the foil can stick properly.

Once everything was in register, my group increased the speed to print more repeats of our labels.
We did not have to change the dieline because the group before us made it so that the dieline was in the correct spot fortunately. Here is the picture of the dieline below:

This the the final product of my promotional label!

If I were to change one thing, it would be to double check my proof. Our promotional label was noticeably different from others. Earlier, when we used Artpro+. We did not properly screen so the artwork did not simulate even continuous-tones. Nevertheless, I was extremely happy with the way mine turned out. Even though it wasn’t screened, it looked really unique. My design had a lot of pixels elements to the design so it kind of emphasized the small building blocks of my design.
